

Getting started with Microsoft Entra ID SCIM user provisioning
Connect Microsoft Entra ID to Perk with SCIM to automatically create, update, and deactivate users. Step-by-step setup for admins, with verification.
By the end of this guide, you will have connected Microsoft Entra ID (previously named Azure Active Directory or Azure AD) to Perk using System for Cross-domain Identity Management (SCIM) and started provisioning users automatically.
SCIM provisioning lets Microsoft Entra ID create and manage Perk user accounts for you.
Once set up, it can:
- Create users in Perk.
- Update user attributes.
- Turn on or off sign-in access to Perk.
The table below lists the user attributes Perk supports by default.
| Supported user attribute | Notes |
|---|---|
| Given name | |
| Family name | |
| Username | Must be a lowercase email. For example, [email protected] works, but [email protected] doesn't. |
NoteThe attributes above are the defaults. Perk also supports extended attributes through three schema extensions: Enterprise, Travel, and Expense.
To map more fields — including expense policy assignments, travel documents, and line manager — see Map custom attributes in Microsoft Entra ID.
For the full list of fields, see the SCIM user model reference.
Prerequisites
Before you start, make sure you have:
- An active Perk account.
- A Premium or Pro plan.
- Account admin access to your Perk account, so you can open Settings > Integrations.
- A Microsoft Entra ID tenant.
- A Microsoft Entra ID account with permission to configure provisioning — for example, Application Administrator, Cloud Application Administrator, Application Owner, or Global Administrator.
Add Perk from the Microsoft Entra ID application gallery
First, add the Perk app from the Microsoft Entra ID application gallery. If you've already set up Perk for single sign-on (SSO), you can reuse the same application.
NotePerk requests only the minimum permissions needed to integrate with Microsoft Entra ID and enable SSO. Microsoft Entra ID includes some permissions by default — such as reading conversations and groups — but Perk doesn't use them.
- Sign in to your Azure account.
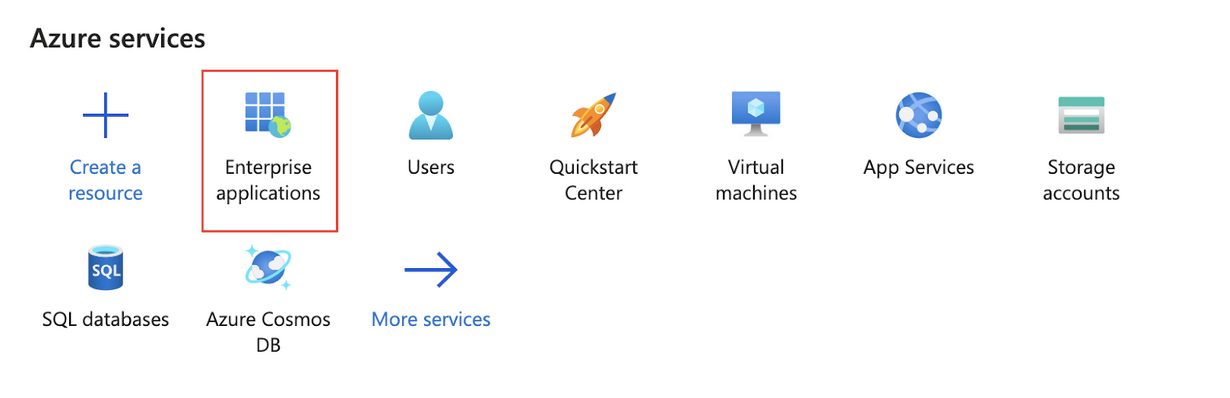
- Go to Azure Services > Enterprise Applications.
- Select New Application. If you've already set up Perk for SSO, search for the name you used before, select it, and continue from "Set up automatic provisioning".
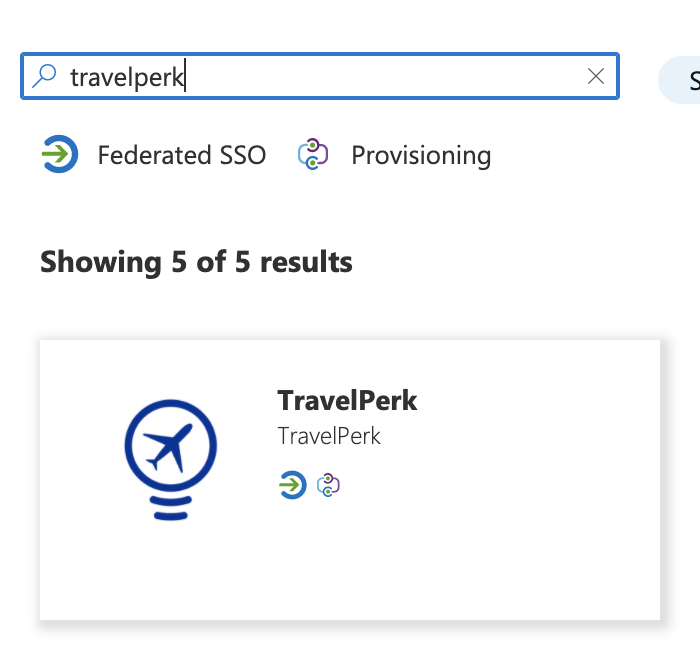
- Search for TravelPerk and select it.
- In the side panel, fill in the Name field — for example,
Perk Integration— and select Create. Microsoft Entra ID redirects you to the Overview page.
Set up automatic provisioning
Next, connect Microsoft Entra ID to Perk and test the connection:
- In the left column, under Manage, select Provisioning.
- Select Get Started.
- Set Provisioning Mode to Automatic.
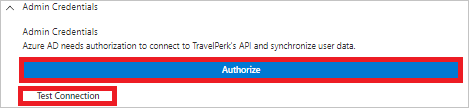
- Under Admin Credentials, select Authorize. Microsoft Entra ID redirects you to the Perk sign-in page.
- Sign in to Perk, review the permissions, and select Authorize App.
- Back on the Provisioning page, select Test Connection to confirm Microsoft Entra ID can reach Perk.

WarningIf the connection fails, make sure no other HR integration is turned on in Perk, and that you're an admin in both Microsoft Entra ID and Perk.
Then set up failure notifications and turn provisioning on:
- Under Settings, enter an email address in the Notification Email field, and check Send an email notification when a failure occurs.
- Set the Provisioning Status to On.
- Select Save.

Assign the app and start provisioning
Now choose who to provision, then start the first sync:
- Under Settings, set Scope to the users and groups you want to provision. For a first test, add your own account to confirm everything works before assigning everyone.
- Select Save to start the first sync.

Saving starts the first synchronization cycle for all users and groups in scope. The first cycle takes longer than later ones, which run about every 40 minutes while the provisioning service is on.
Verify your integration
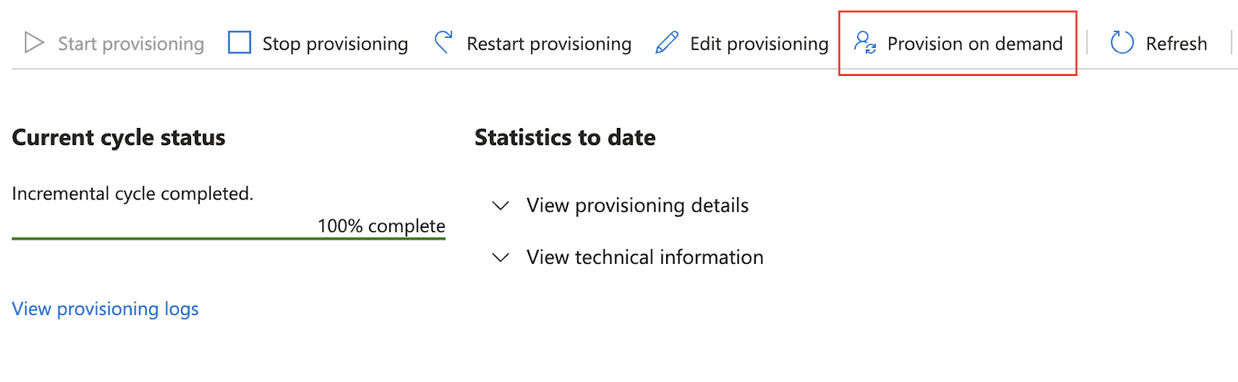
To confirm that provisioning works, check that your assigned users appear in Perk. You can also provision a user on demand from Microsoft Entra ID:
- Go to Provisioning.
- Select Provision on Demand.
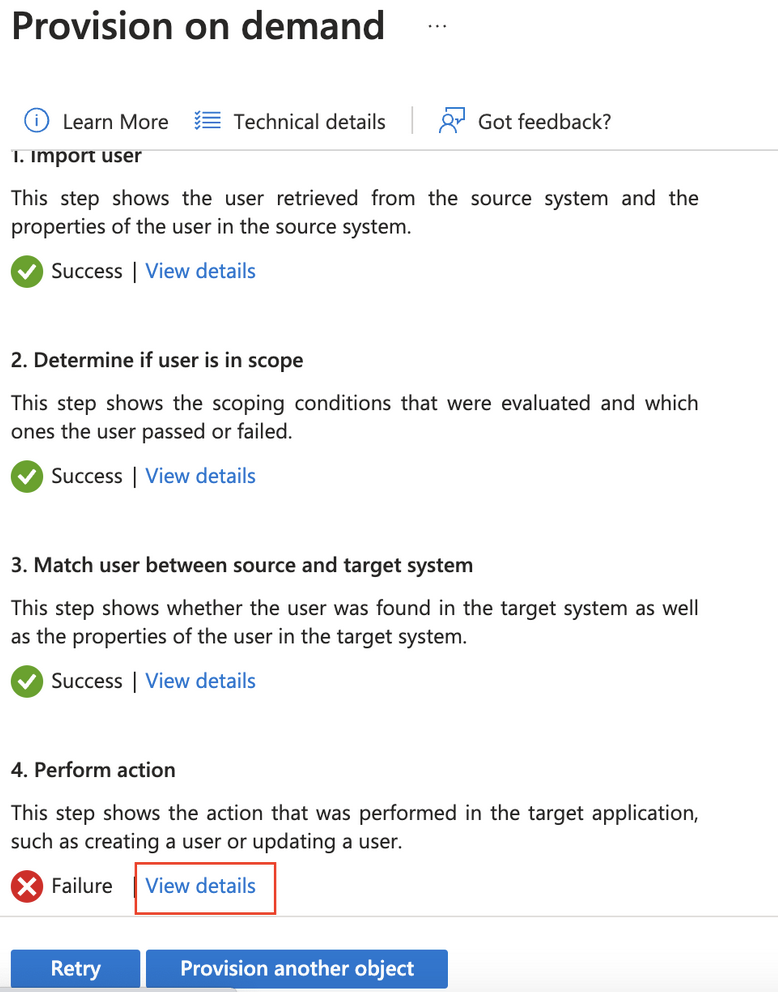
- If an error occurs, select View details to see what to fix for that user.
Troubleshooting
If a sync fails, check the user's provisioning details in Microsoft Entra ID for the error. For error codes and the steps to fix them, see the SCIM troubleshooting guide.
If an error was faced during the provisioning, you can view details of the error that needs to be resolved for the specific user:
Next steps
- Map custom attributes in Microsoft Entra ID
- Set up company syncing in Microsoft Entra ID
- SCIM user model reference
Updated 4 months ago