

Getting started with SCIM user provisioning
This guide explains how to enable System for Cross-domain Identity Management (SCIM) user provisioning in Perk, whether you're integrating through an identity provider (IdP) such as Okta or Azure or calling the SCIM API directly.
There are two ways to use the SCIM API with Perk:
- Integrate via your identity provider (IdP)—Okta or Azure—and let it handle all communication with the Perk API.
- Call the Perk SCIM API directly from a program you develop.
Prerequisites
- A Perk account with Premium plan
- Account admin or developer role
- An API key (for direct API integration) or credentials for your IdP
Finding the user provisioning setup
To set up user provisioning, go to Account > Integrations and search for the user provisioning card.
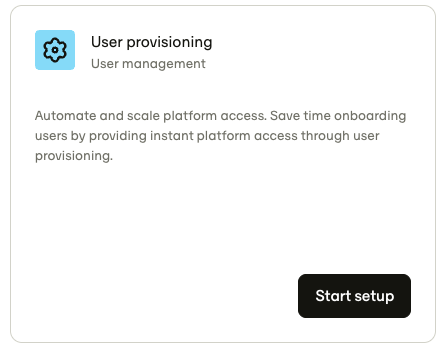
User provisioning setup
Option 1: Integrate via an IdP
If you use Okta or Azure, you can directly set up the integration between Perk and your IdP. Perk provides a step-by-step configuration guide for Okta and a separate guide for Azure.
The user provisioning card (Settings > Integrations, User provisioning) in the Perk web app links to each marketplace app.
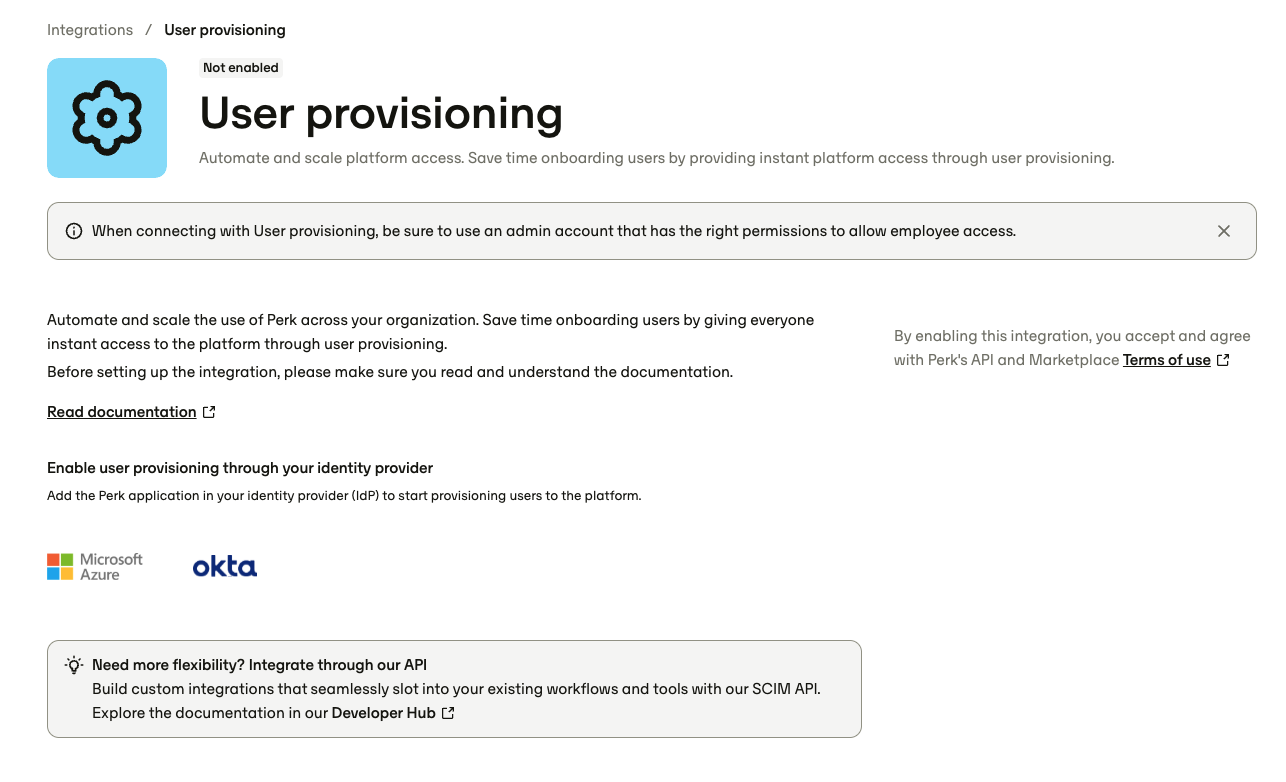
Option 2: Integrate via the SCIM API
You'll need an API key to call the Perk API. To create one, see Create an API key. Then enable the integration by calling any SCIM endpoint with your API key. If you don't have a SCIM integration yet, the first call creates one automatically — you don't need to set anything up in the Perk web app.
If you need more information see the SCIM API reference, and Perk also provides a Postman collection.
Compatibility with HR integrationsPerk supports other HR systems for user provisioning (for example, BambooHR). Only one provisioning system can run at a time. If your account is already connected to BambooHR, you must remove that integration before enabling SCIM.
Active user provisioning setup
Once you've set up the integration—via the API or an IdP—the user provisioning status is active:
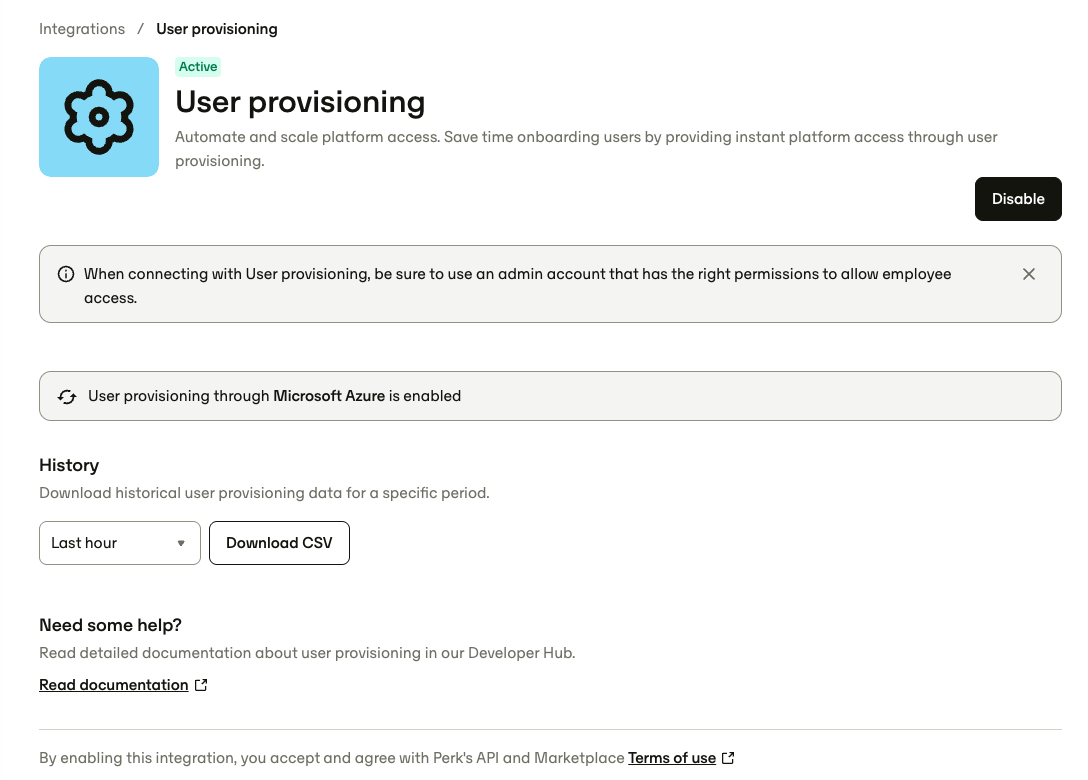
Once enabled you see all the configuration options
Once the setup is active, you can:
- Download a history of the syncs done between Perk and your IdP or API calls between a specified time range.
- Automate approval process creation and management based on your company's manager hierarchy. [IdP only]
- Disable the integration.
Next steps
Updated 4 months ago